The GRIL.IT® smart controller, has been designed to fit various pellet hoppers. The first step of your installation should be to check your new GRIL.IT controller and ensure that it is compatible with your grill.
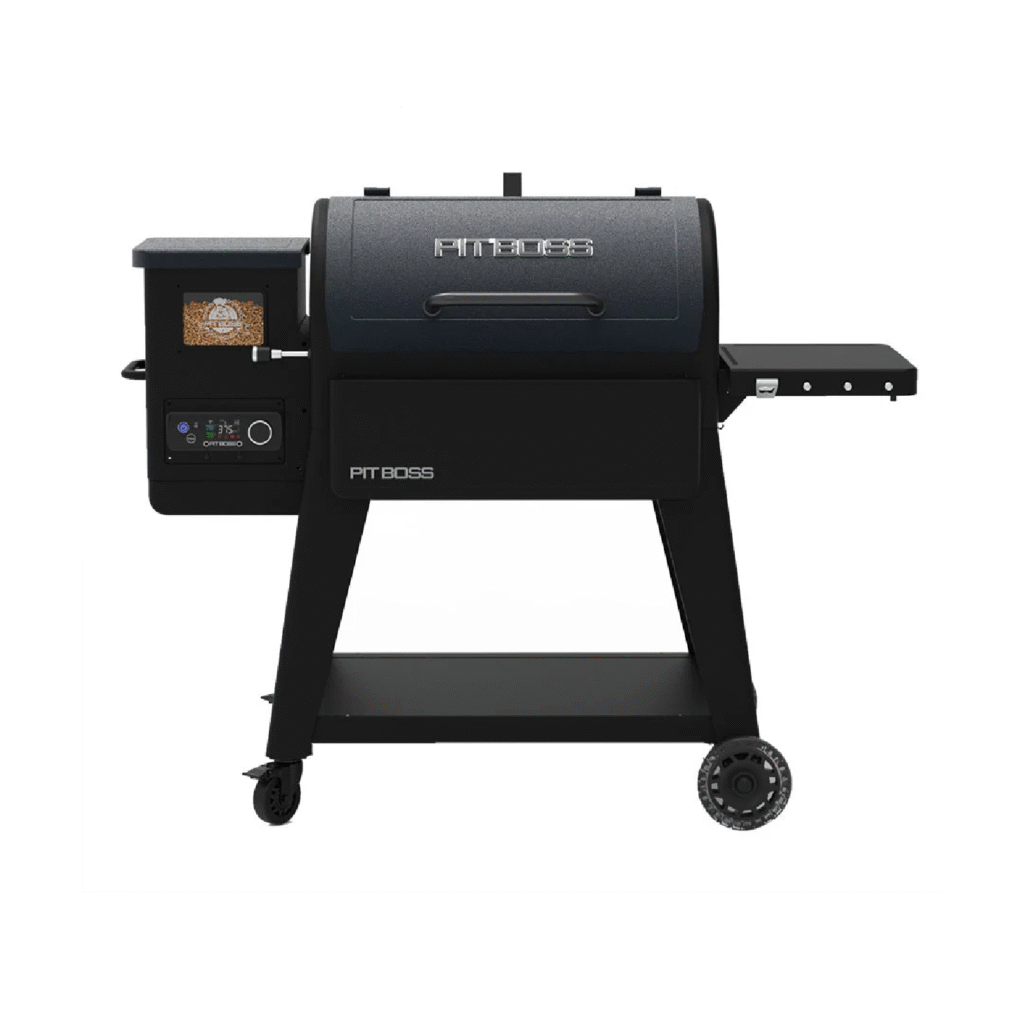
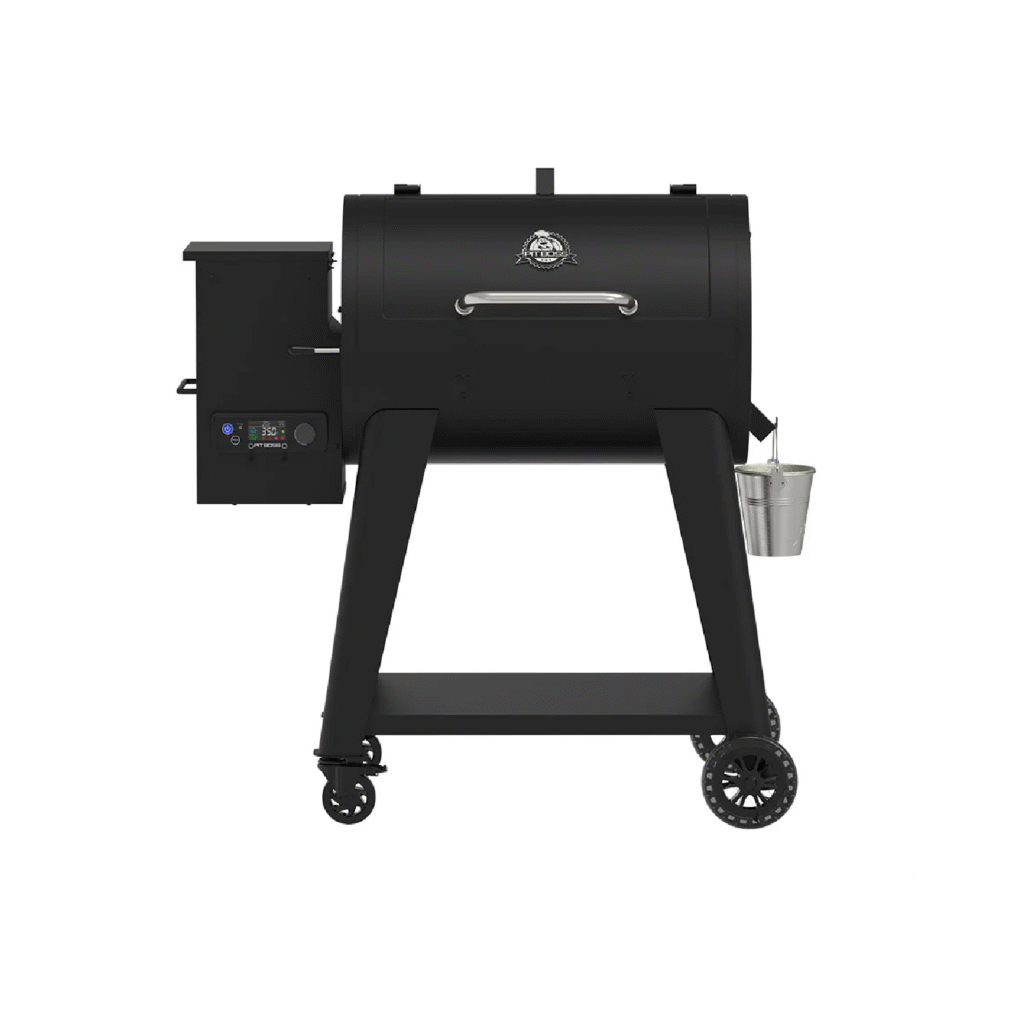
PitBoss Navigator 1150
PitBoss Navigator 850 – PB850M
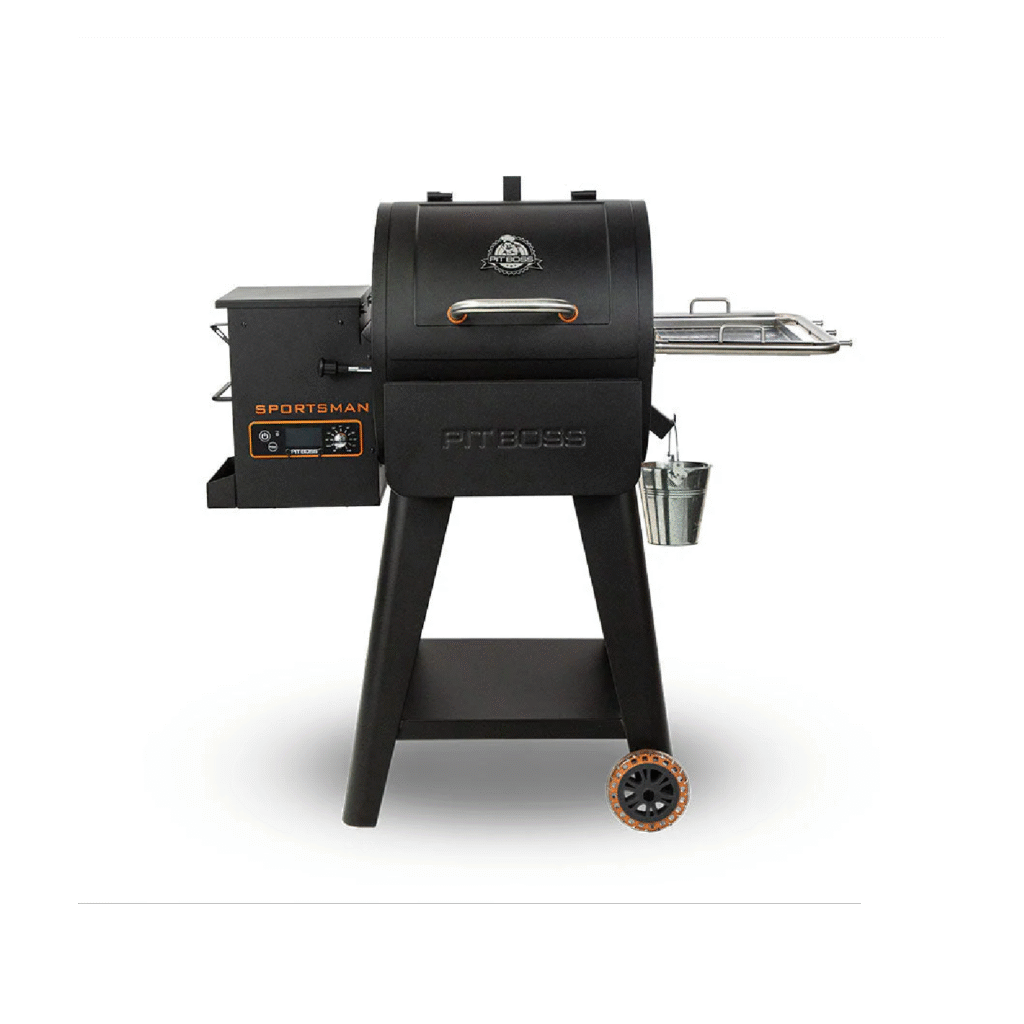
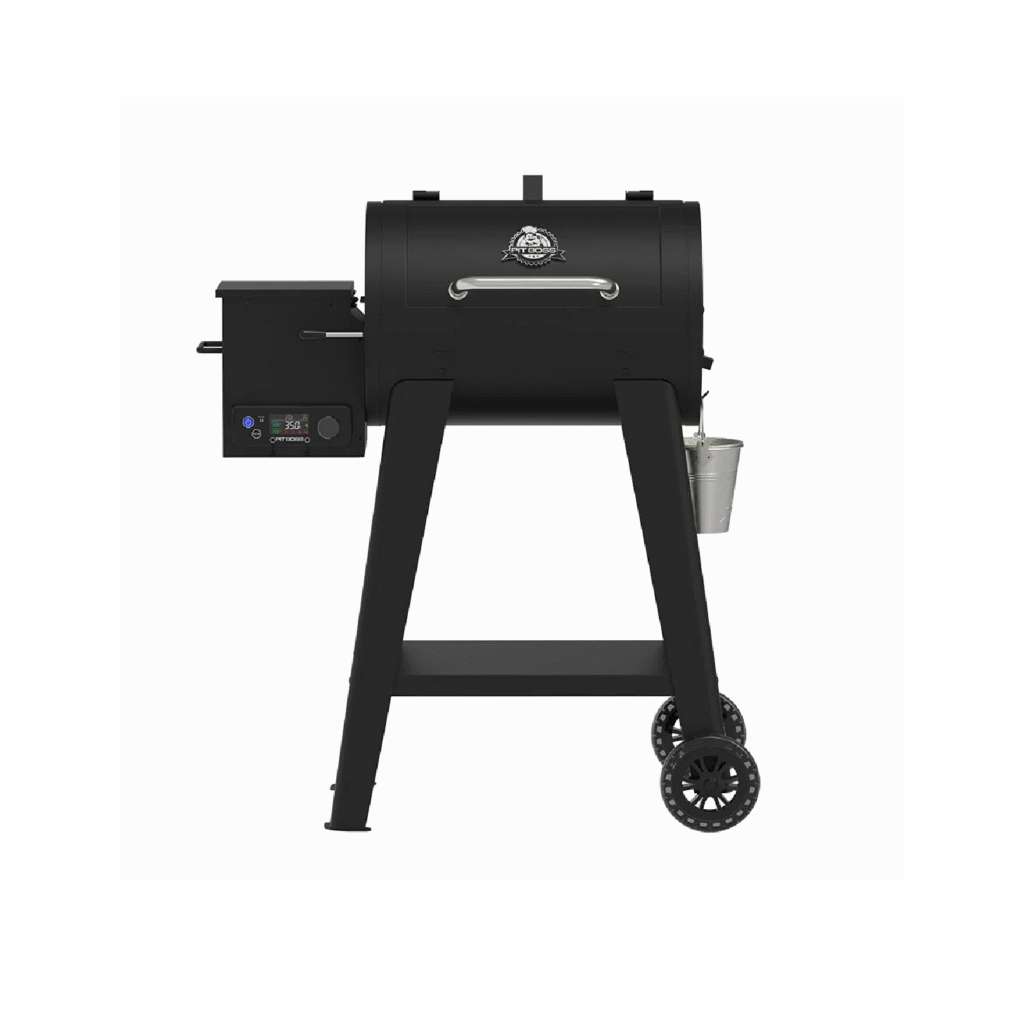
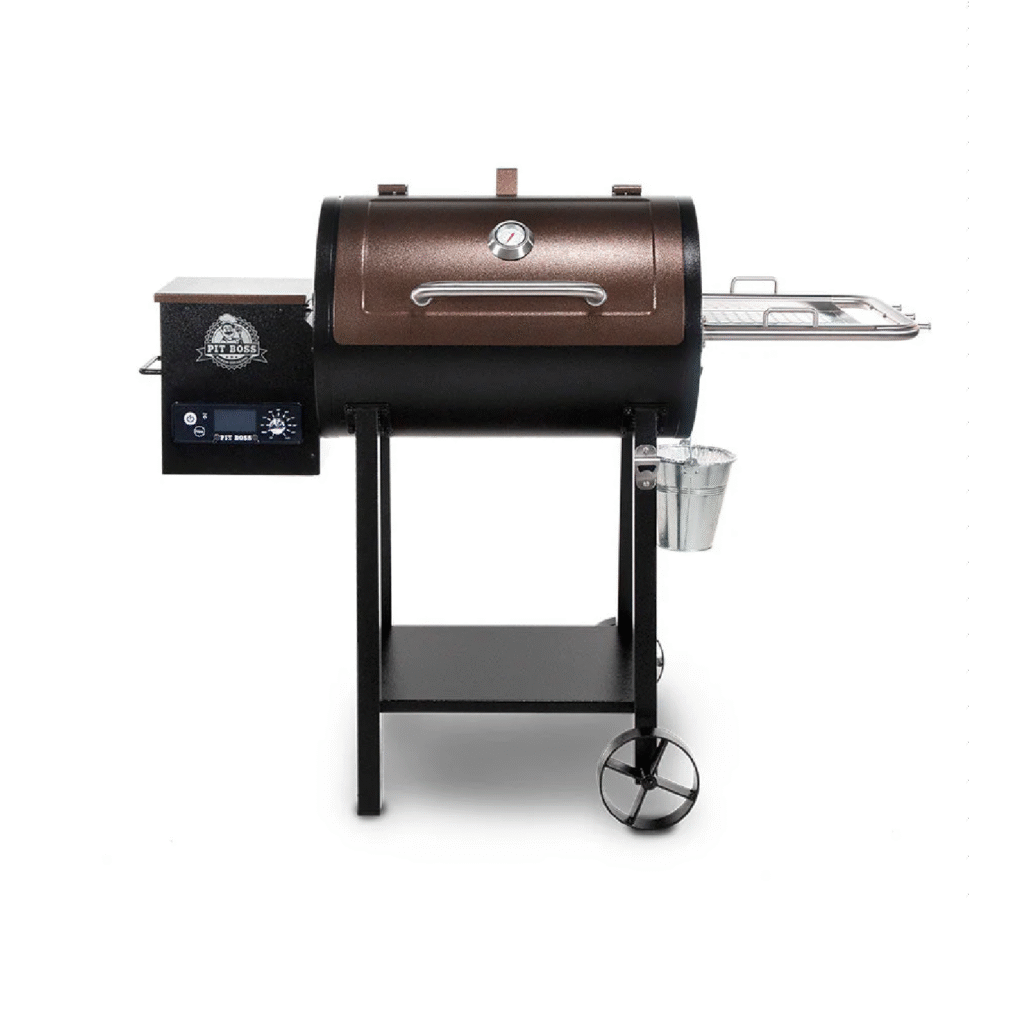
PitBoss Sportsman 500
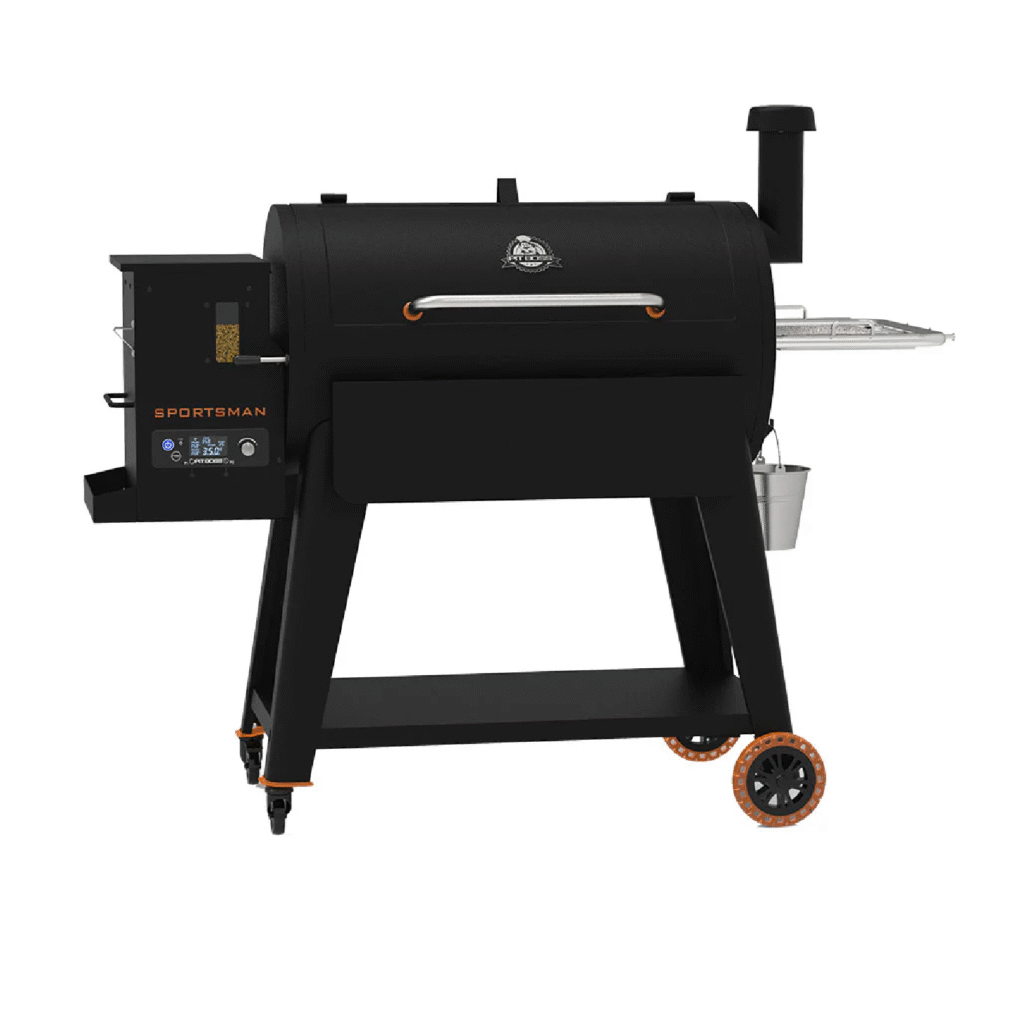
PitBoss Sportsman 850
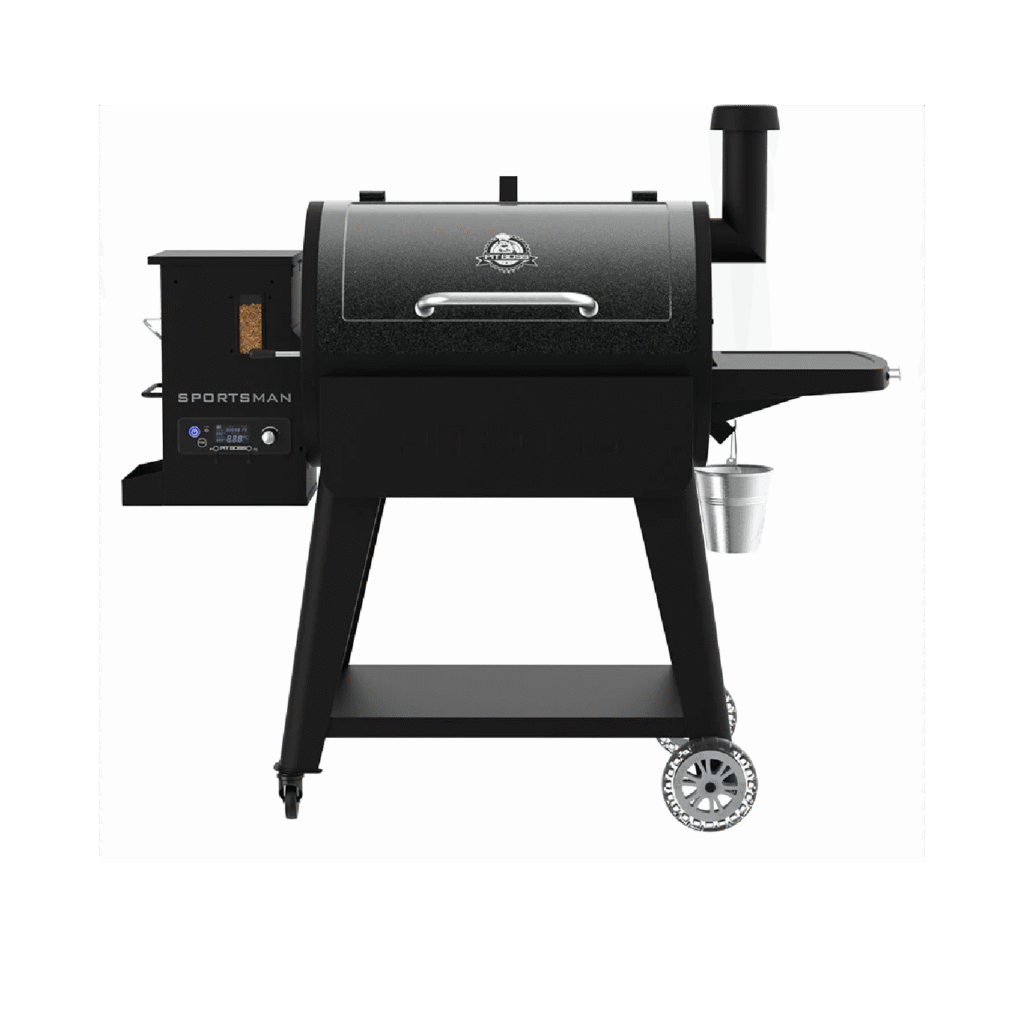
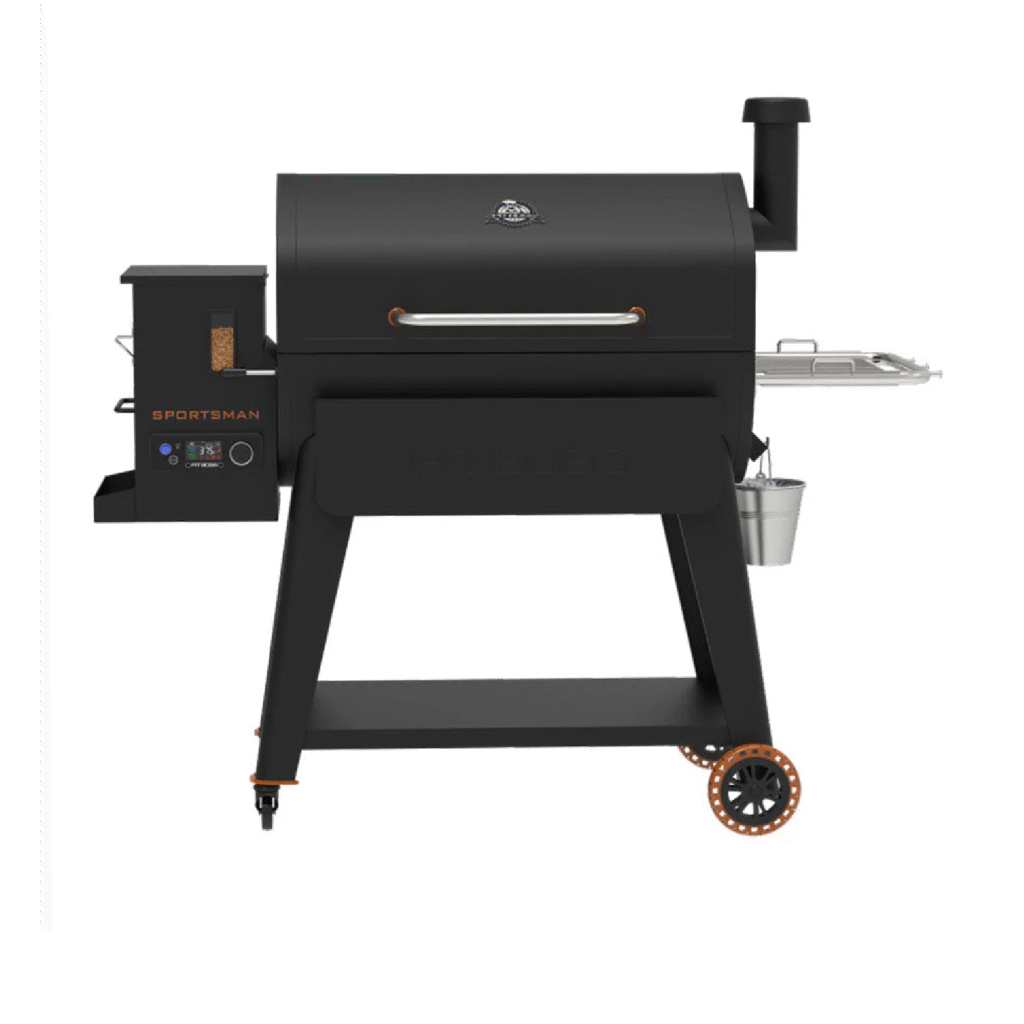
PitBoss Sportsman 1100
PitBoss Sportsman 1600
PitBoss 500FB2
PitBoss 700FB1
PitBoss 850FB2
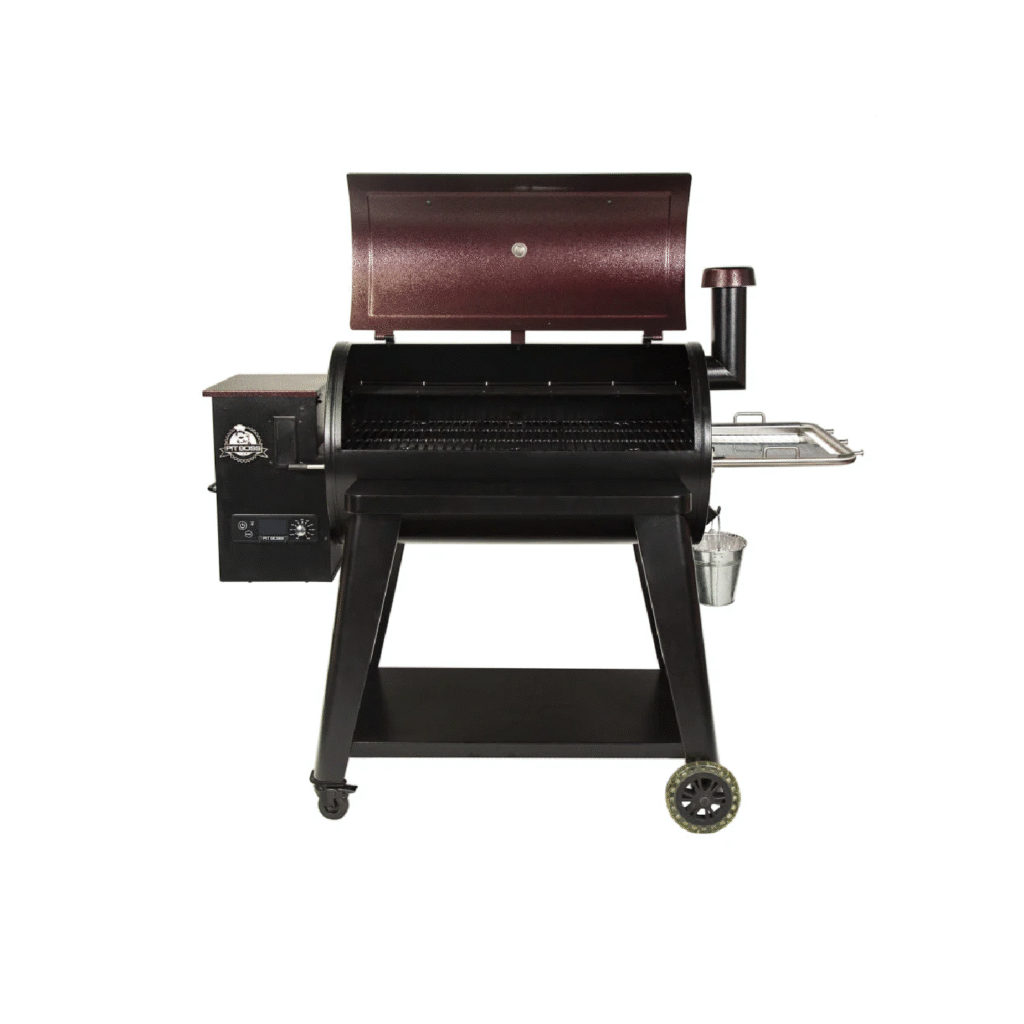
PitBoss MAHOGANY 440 DELUXE
PitBoss MAHOGANY SERIES 1000
PitBoss Classic
PitBoss Competition Series 850
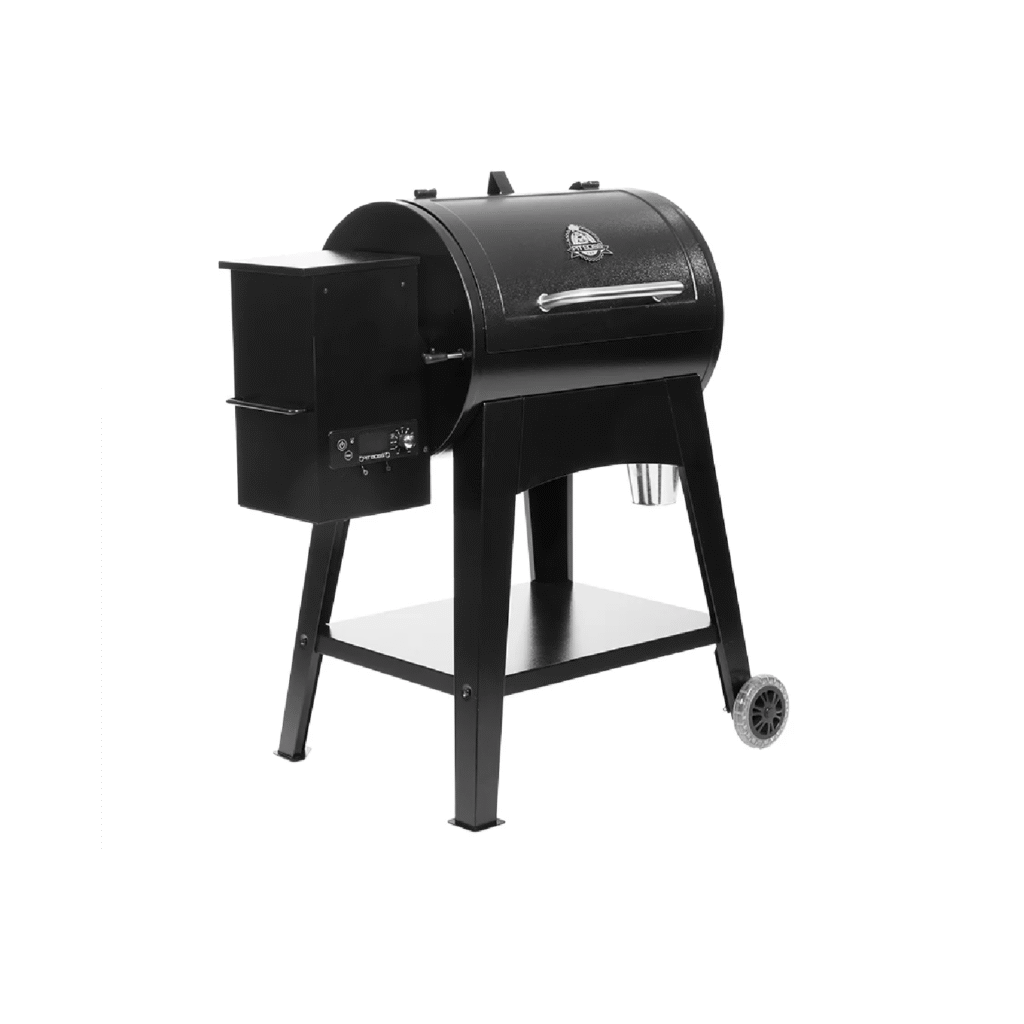
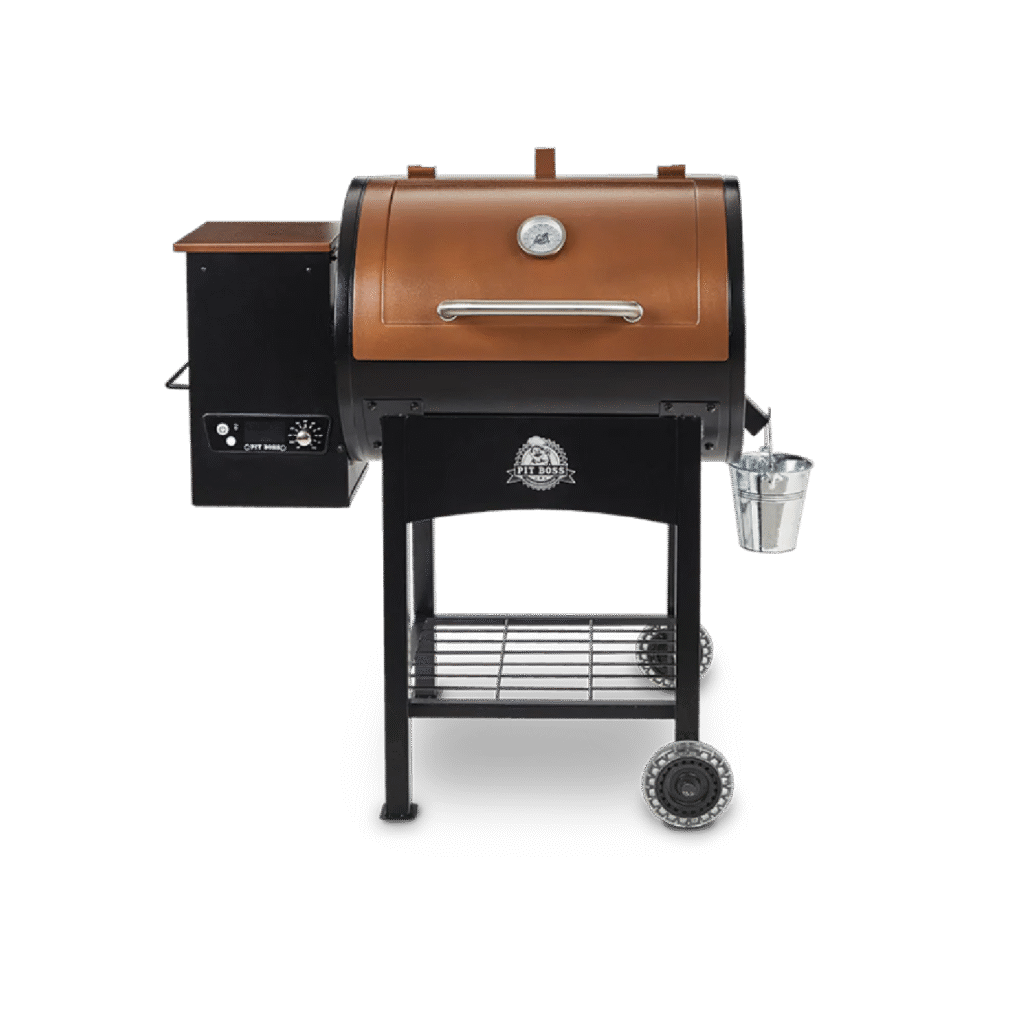
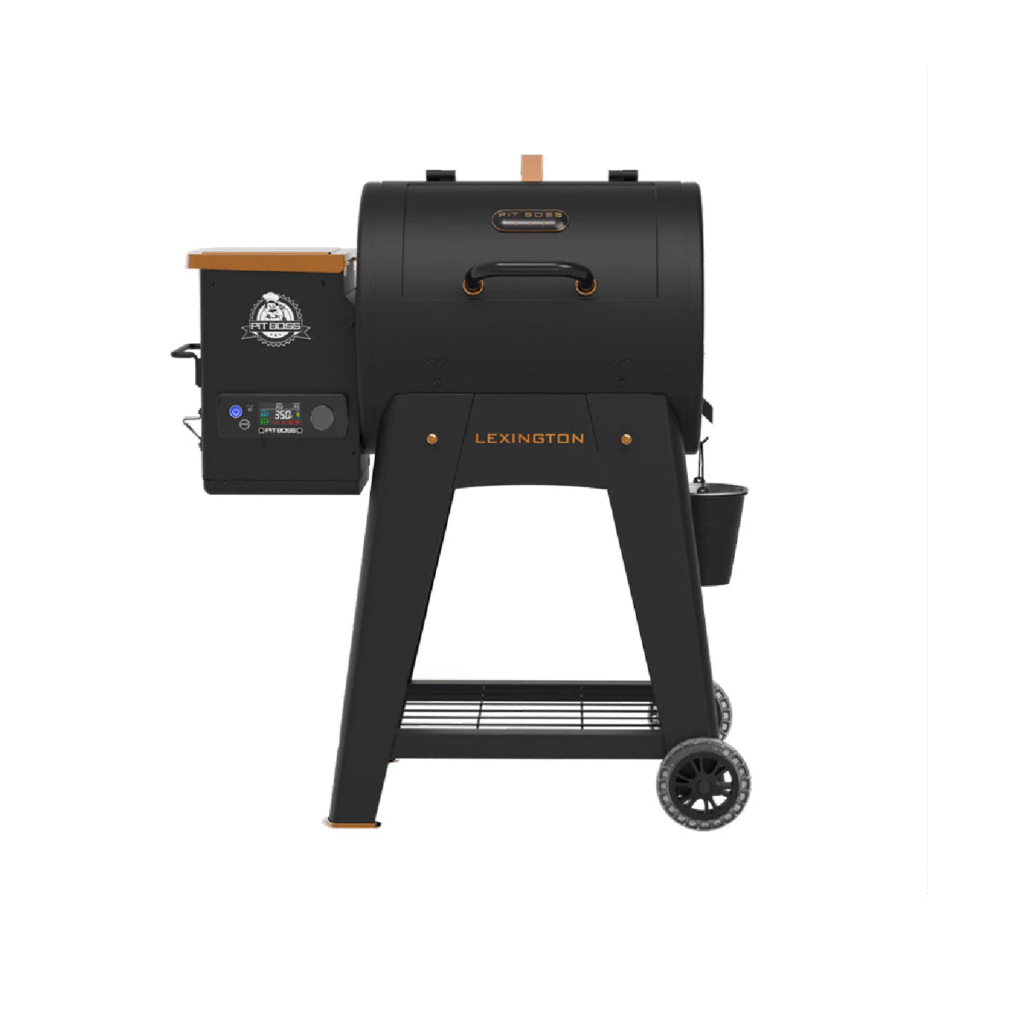
PitBoss Lexington 500
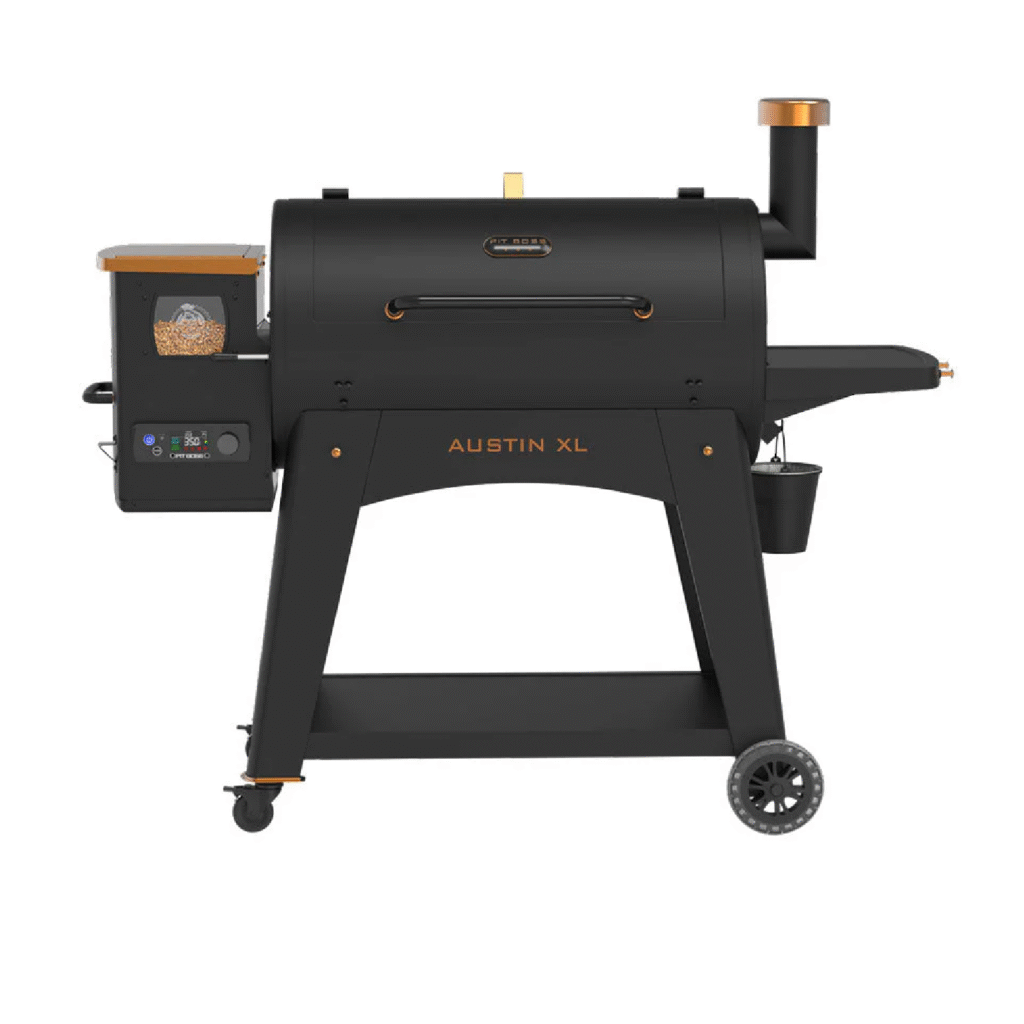
PitBoss Austin XL 1000
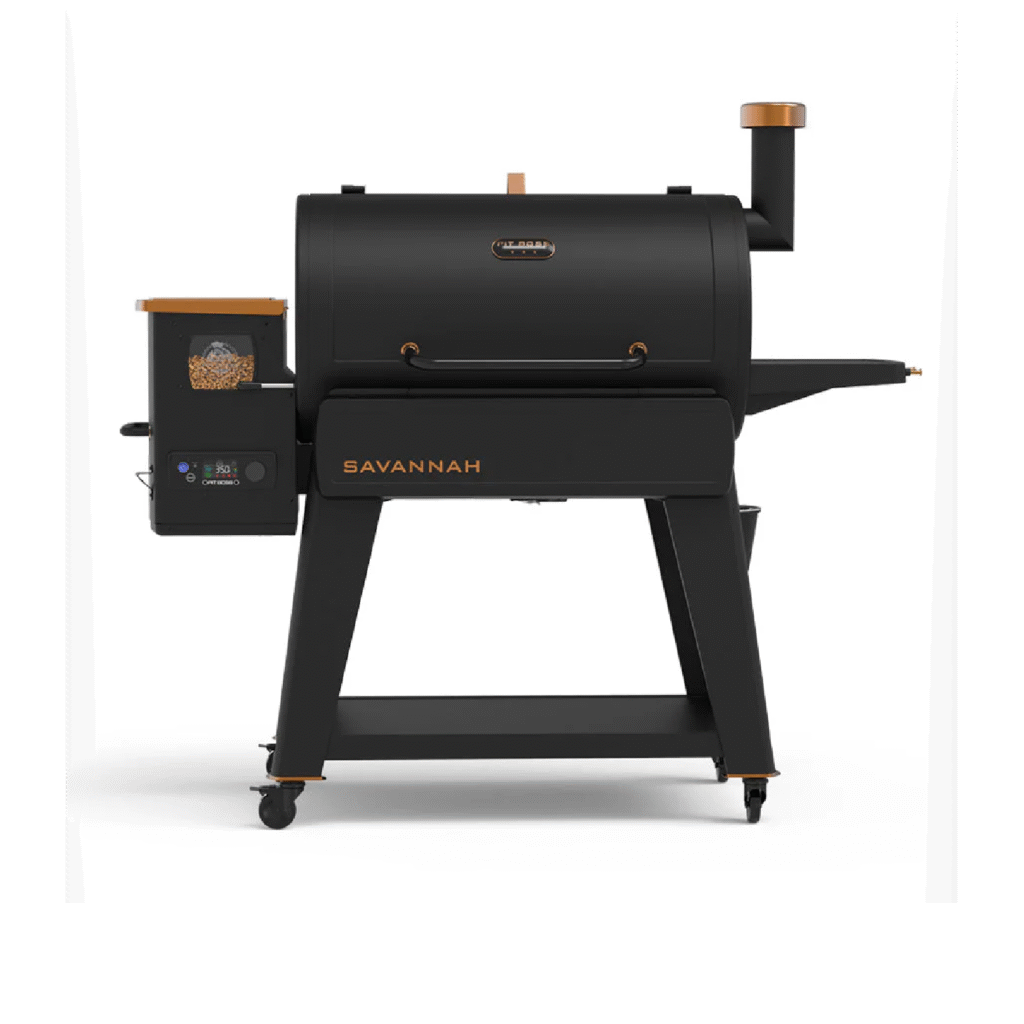
PitBoss Savannah
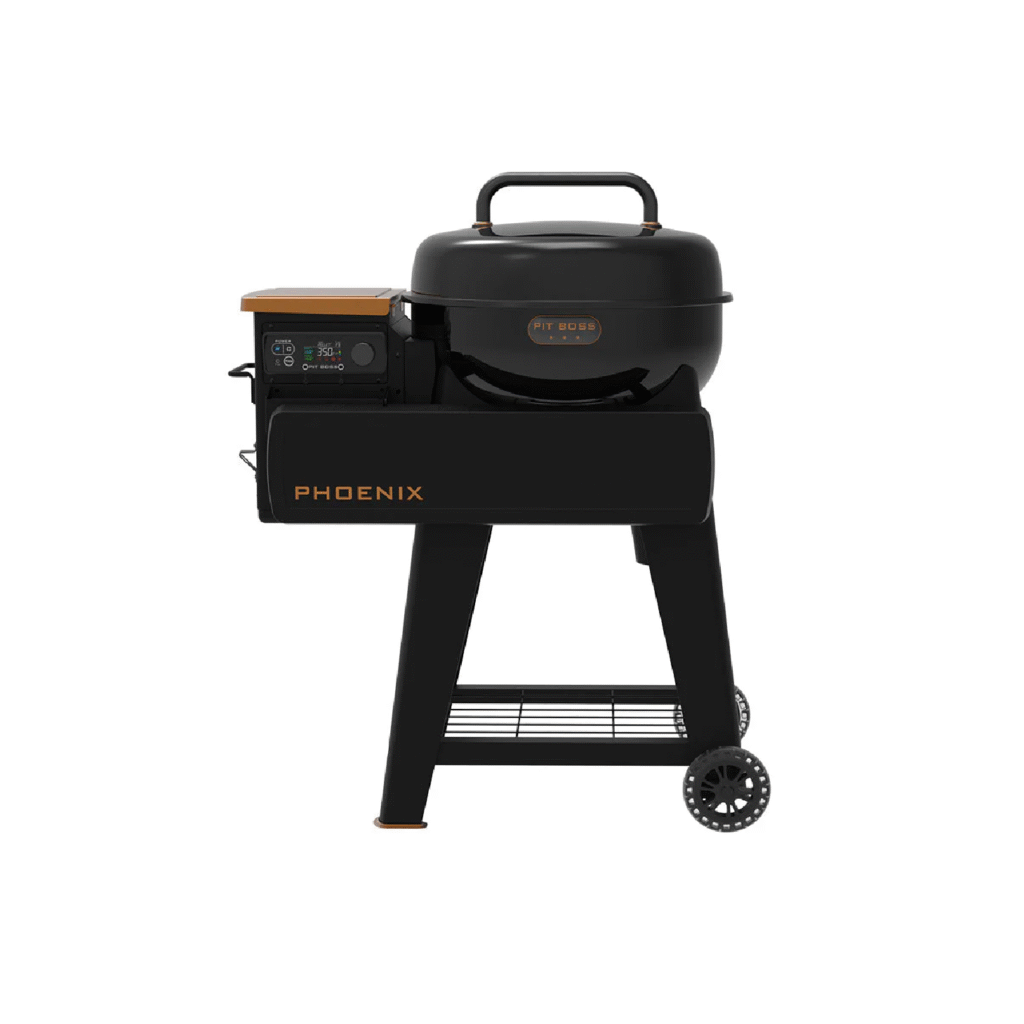
PitBoss Phoenix
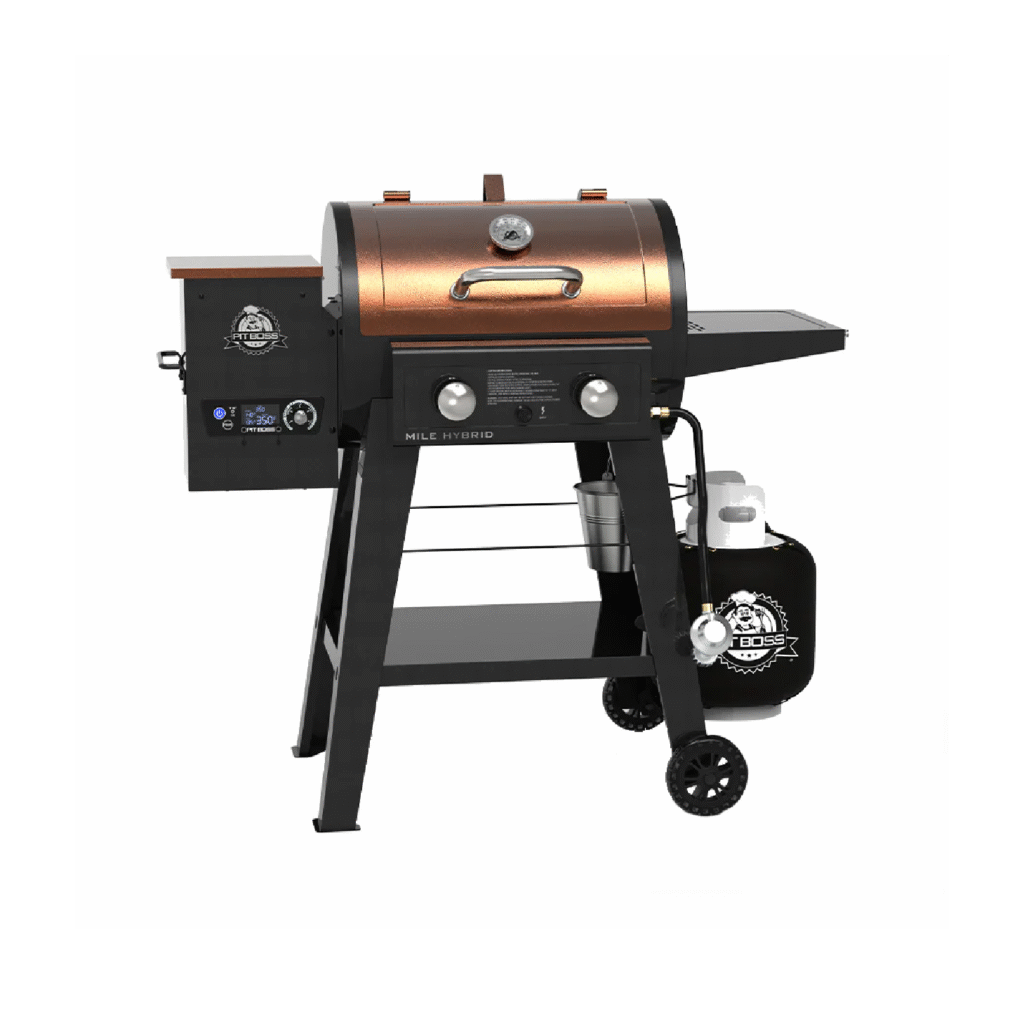
PitBoss Mile Hybrid
Lexington 500 Wood Pellet Grill – Onyx Edition
Lexington 500 Wood Pellet Grill – Onyx Edition
IMPORTANT SAFETY NOTES TO THE INSTALLER:
• Please and follow instructions contained in these installation instructions before installing the new GRIL.IT smart controller. Failure to follow these safety precautions could result in fire, personal injury, or electric shock.
• Observe all governing codes and ordinances relative to electrical appliances. Keep these instructions with your Owner’s Guide for future reference.
WARNING: Always disconnect the electrical cord prior to opening the grill for any inspection, cleaning, maintenance or service work. Ensure the grill is completely cooled to avoid injury.
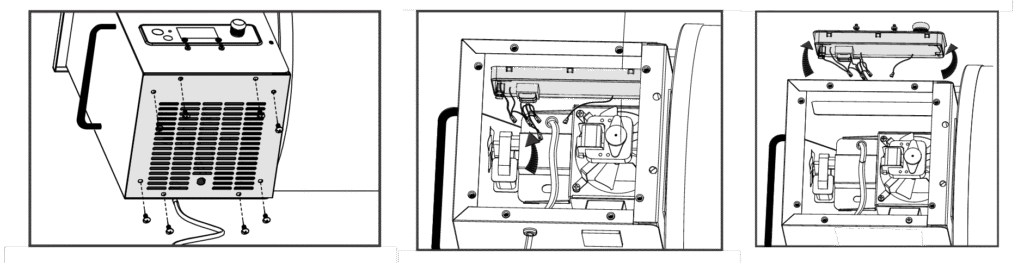
2. Locate the pellet hopper panel on the bottom of the pellet hopper. Using a Phillips screwdriver, remove the screws along the edges of the pellet hopper access panel.
IMPORTANT: Take special care not to strip the pellet hopper access panel screws while removing.
3. From below, locate the connectors among the colored wires. Clip zip-ties with wire cutters, to expose the wires more clearly. Disconnect the four WHITE connectors and one BLACK connector. This will disconnect the wires of the existing Controller from the grill.
4. Next, prepare to unclip and remove the existing Controller. The existing Controller is held into the hopper opening by six press clips: three along the top and three along the bottom. Reach your hand into the hopper, from the bottom, and press the three clips along the bottom of the Controller to release the bottom. Carefully, using your other hand, grab hold of the bottom of the Controller and tip it slowly upward to release the three clips along the top, and pull out. If the top clips are tight, use a flat-head screwdriver to assist with releasing. Once all six clips are released, carefully pull-out the existing Controller from the hopper to remove.
INSTALLING THE NEW CONTROLLER
Tools required: Phillips screwdriver, zip-tie.
1. Remove the new Gril.iT smart controller from the packaging.
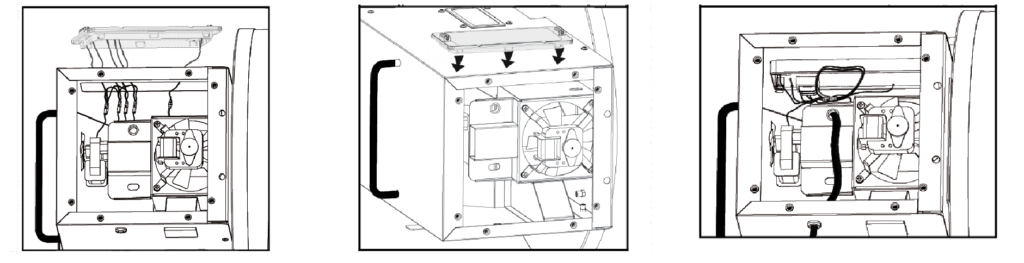
2. Take the disconnected four WHITE connectors and one BLACK connector from the bottom of the hopper (hanging loose) and string them up into the hopper, poking them out through the Controller opening on the front.
3. Prepare the new Controller for wire connecting. Holding the new smart Controller infront of the opening, match and connect all the connectors appropriately. Ensure the wires of each are connected firmly.
4. Next, carefully tipping the top edge forward, insert the Controller bottom edge into the hopper opening. Once the bottom three clips are all in position, tip the top edge of the Controller into the hopper to lock the top three clips. The Controller should sit firmly into position. No wires should be exposed through the front of the hopper.
5. Take hold of the wires through the bottom of the pellet hopper and carefully place them inside, behind the smart Controller.
IMPORTANT: Observe the auger motor and combustion fan. Take care to ensure none of the wires are near these components. Use a zip-tie to fasten the wires together.
TESTING OPERATION OF THE NEW CONTROLLER
Each of the functions of the smart Controller have been factory checked and tested before shipping.However, it is suggested that you verify the operation of the new smart Controller to confirm operation.Follow the following instructions to test the new smart Controller is operating as normal.
i. the power cord into a grounded power source.
ii. Turn the Temperature Control Dial to a low temperature position. Press the Power Button on the touch screen, located in the top left hand corner. This will activate the ignition cycle. The auger feed system will begin to turn, the igniter will begin to glow and the fan will supply air to the fire pot.The grill will begin to produce smoke while the ignition cycle is taking place.The barrel lid must be open during the start-up cycle. To confirm the ignition cycle has begun properly, lookfor minimal smoke or listen for a torchy roar in the firepot.ced. After all operations are checked, with the main barrel lid remaining closed, press the power button on the touch screen and then press confirm to power down the unit. This will take 15 minutes. The grill will begin its automatic cool-down cycle. The auger system will stop feeding fuel, the flame will burn out, and the fan will continue to run until the cycle is complete
6. After testing, re-install the hopper access panel to the bottom of the hopper. Fasten with the 4-8 screws.
7. The grill is now ready to use as normal.
NOTE: Refer to your grills Owner’s Manual for complete operation instructions, care and maintenance, tips, and troubleshooting information. If lost, please visit www.GRIL.IT.com.
CONNECTING TO THE GRIL.IT APP
Download the GRIL.IT from the Apple app store or the Google Play store.Follow these instructions on how to connect your grill to the GRIL.IT app with your Android or iOS device. The app will allow you to control and monitor your grill settings and meat probe temperatures from your smart device.
1. Download the GRIL.IT app. You will be prompted to create an account. Once that is complete the app will ask you to allow Bluetooth to be enabled for setup.
2. The GRIL.IT app will automatically detect your grill. If you do not see your grill on the screen, ensure your unit is connected to a power source and is turned on.
3. You can also connect your GRIL.IT to Alexa or Google Home. Follow the app instructions to connect to your voice product of choice.